This guide is for mappers validating predictions from the Prophet AI system in the POSM Tasking manager (note that validation here does not refer to the 2nd phase in the tasking manager). ‘Getting Started’ details the necessary steps to create an account and navigate the Tasking Manager. ‘Feature Details’ describes the proper placement of pedestrian elements, either for new placement of features or correction of predictions. ‘Example Workflow’ shows a number of examples of before and after photos, to illustrate proper feature placement. ‘Finishing Tasks’ describes how to save changes to the tasks and select a new one.
If this is your first time contributing to the OpenSidewalks initiative, please review the OpenSidewalks Mapping Guide, before proceeding to map.
Getting Started
For more information on this process, please look at Opensidewalks Mapping Guide, OSM Cheat Sheet, and NACTO Guide.
*The former 2 include road connections in their instructions; there should not be roads in the datasets you are viewing
Creating a POSM account
- Go to POSM Tasking Manager at: https://workspaces-tasks.sidewalks.washington.edu/
- Click ‘Sign Up’

- Input the name and email address into the pop-up
- If you have an OSM account, click ‘I already have an OpenStreetMap Account’ – it will ask you to sign in to the OSM account, and as a result will sign you into a POSM account. You are good to go. Otherwise click ‘Create OpenStreetMap account’ to make a new one.
- You will be brought to OSM in a new tab. Again, click ‘Signup’

- Enter your details for the OSM account
- Go back to the original POSM tab and click ‘Log in’ in the popup
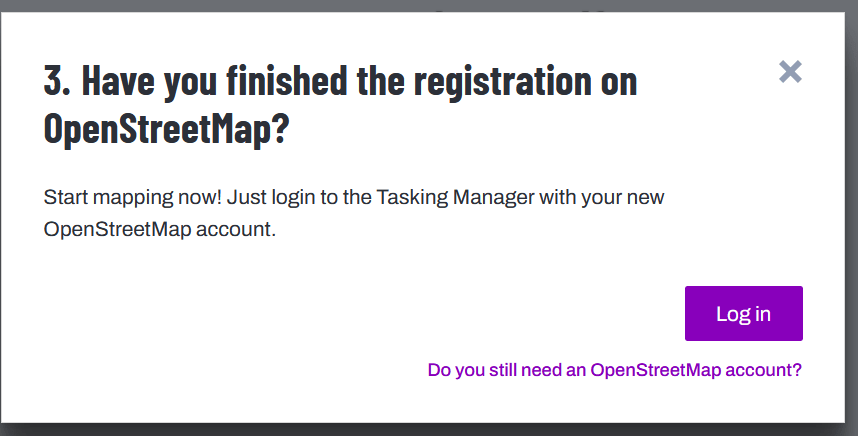
- Enter OSM account details to finish signing into and creating your account
Navigating to a task
- Login to the POSM Tasking Manager at: https://workspaces-tasks.sidewalks.washington.edu/
- Select ‘Explore Projects’ in the top menu bar.

- Scroll through the page and click a project, and click ‘Contribute’.

- You will see in the ‘Legend’ in the image below that there are several states tasks can be in.
- Available for mapping: the task is not yet been mapped or validated
- Ready for validation: the task has been mapped, but has not been ‘checked’/validated for correctness by a second mapper
- More mapping needed: the task has been mapped, and validated, but rejected at validation.
- Finished: the task has been mapped and validated
- Unavailable: the imagery in the task is poor
- Priority: these tasks should be done first
- Locked: another mapper or validator is working on this task
- Each project is divided into smaller tasks. Select a task polygon and click “Map Selected Task”.

- Each task contains a portion of predictions from Prophet V2. These predictions need to be validated and/or corrected to fit the actual infrastructure, and new features added
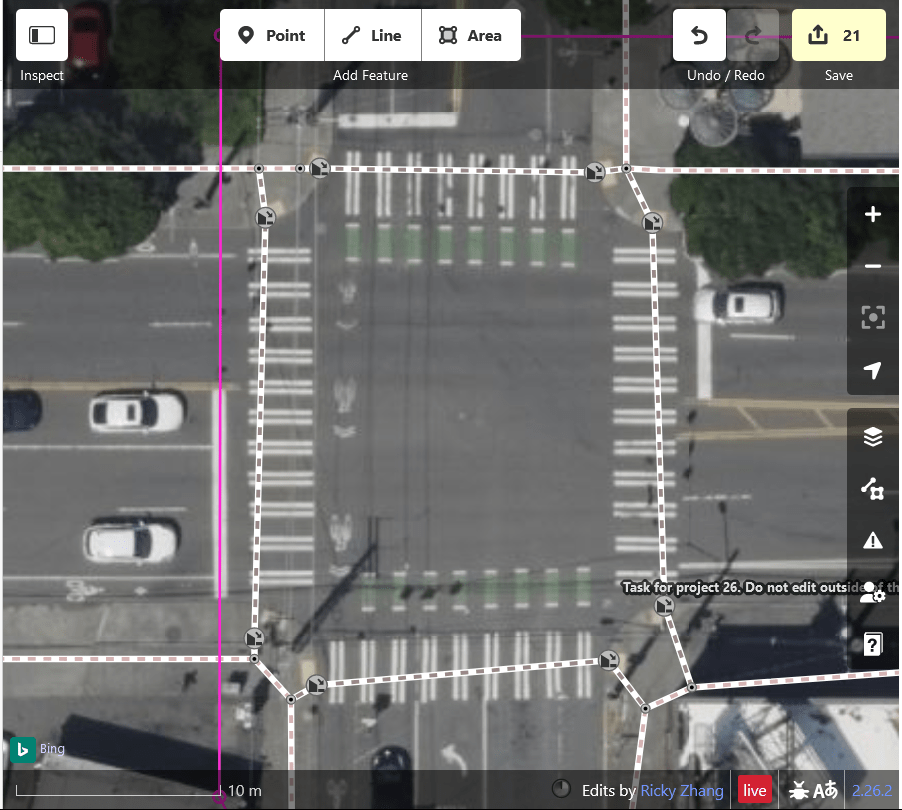
Interface
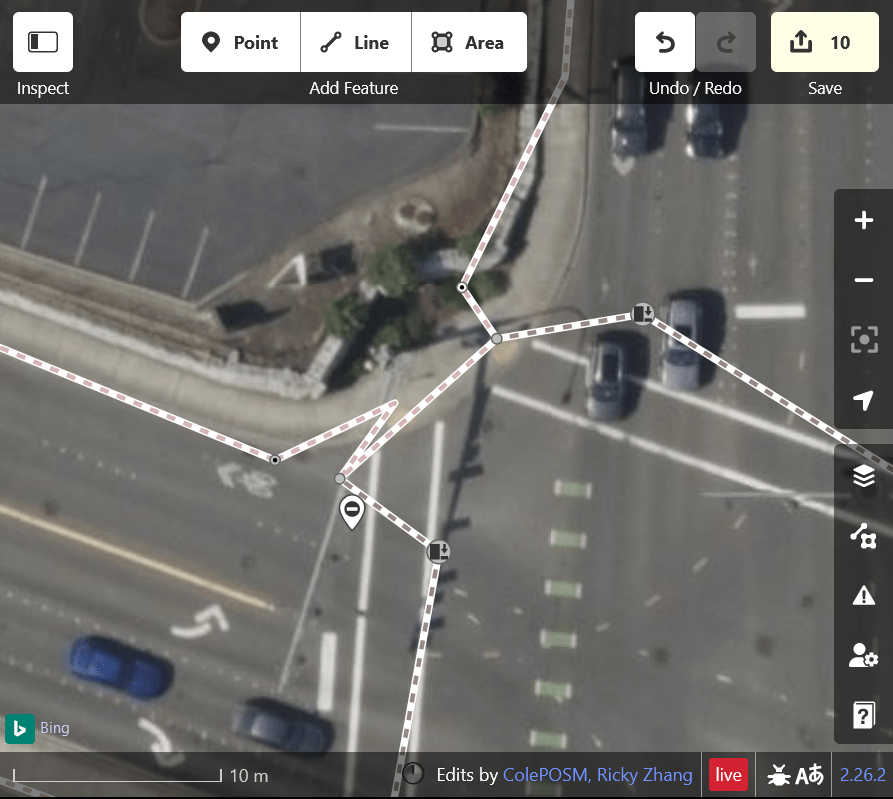
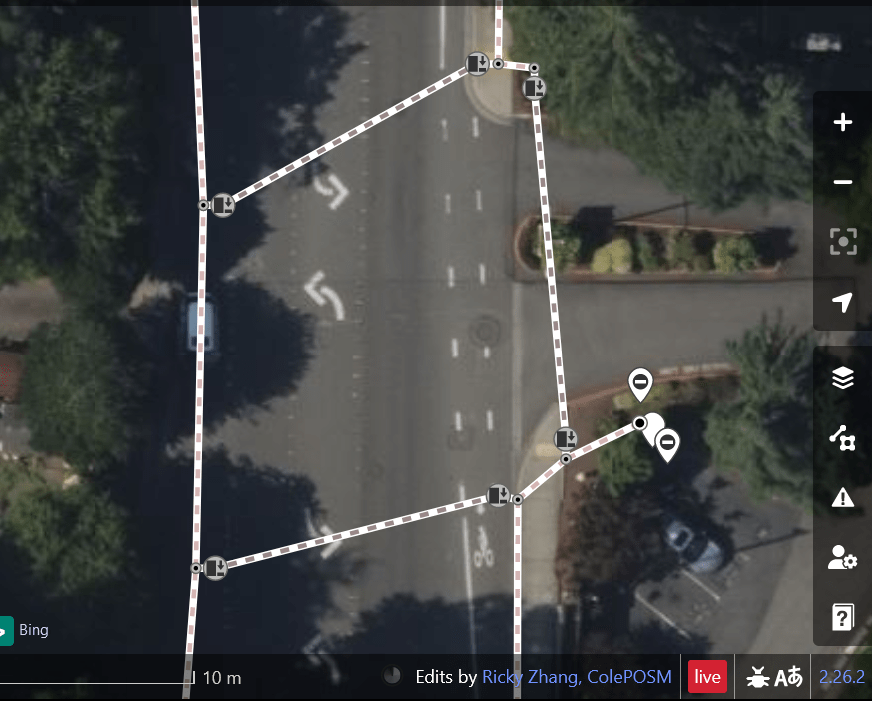
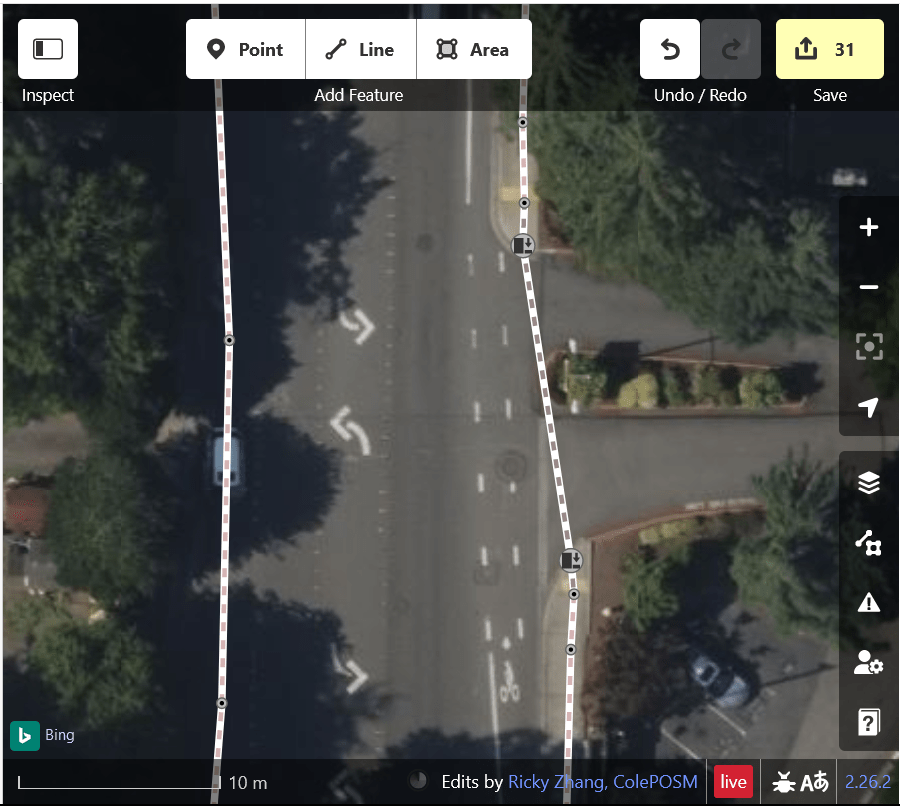
Clicking ‘Map selected path’ will open the Tasking Manager Editor window. The left hand Feature panel shows the details of a selected feature. You can use the search bar to search for the correct feature preset to assign to whatever feature is selected. The right hand Task Management panel gives the status of the task itself. The central Map panel shows the overhead view of the current task area.
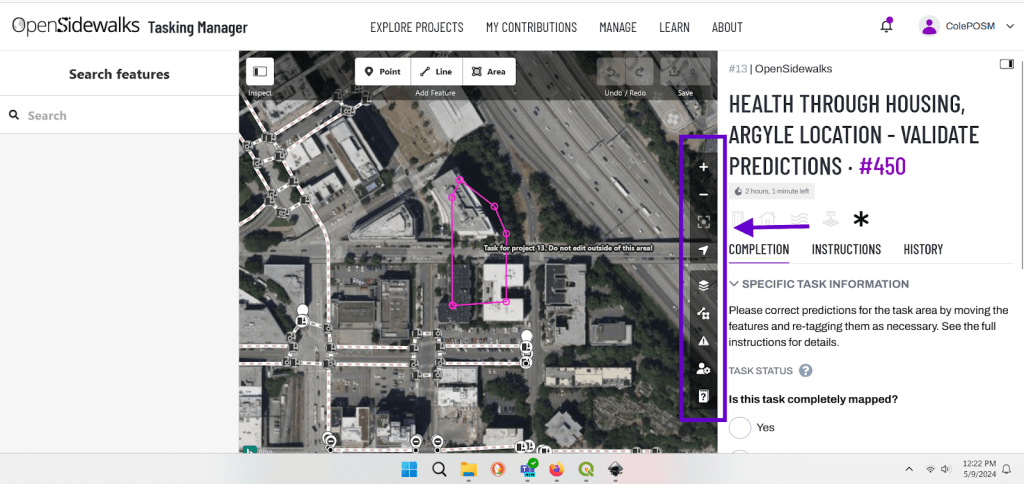
The toolbar(in purple) along the right edge of the Map panel contains helpful options.
- The ‘line and square’ icon can be used to toggle street view imagery on and off (and other features outside of this use case)
- The top 4 icons are used to navigate the central panel map.
- The 3 squares/burger icon allows you to select the type of overhead imagery to use. Bing or King County Ortho are both good options.
Feature Details
There are 3 feature types to be concerned with. These are pedestrian crossings, curb nodes, and sidewalks. Many of these features have already been created by the Prophet AI, but they may not be properly aligned. Some features are not yet created, and need to be

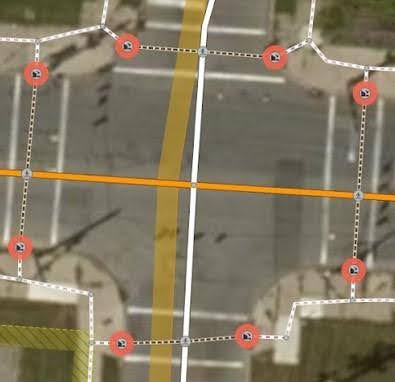
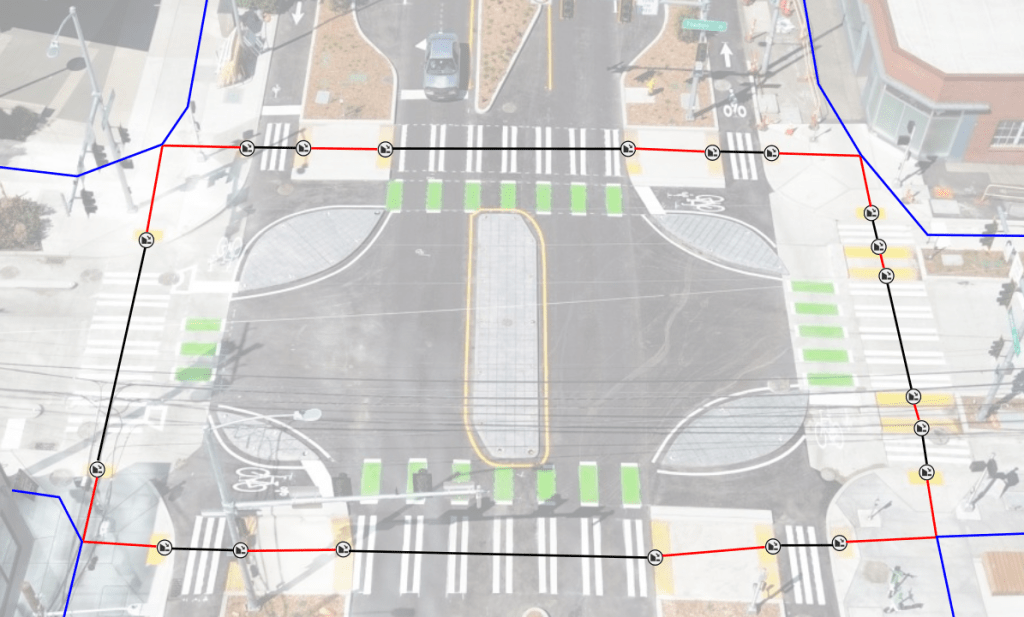
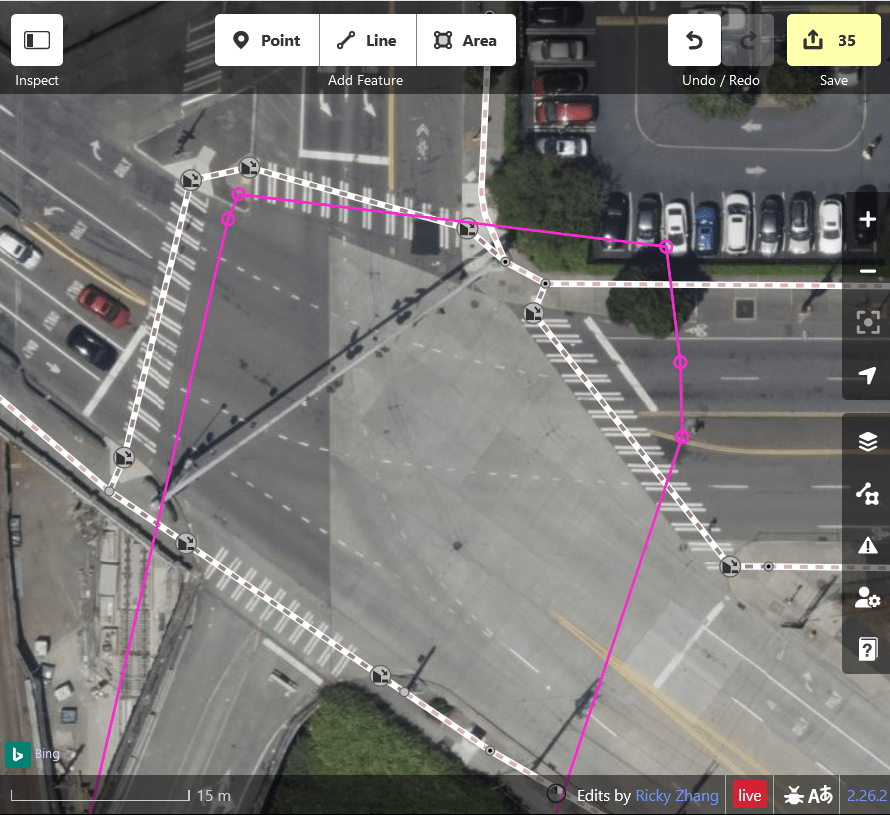
In the above picture, curbs are highlighted with black circles. Footpaths/links are in purple, crossings in red, and sidewalks in green
Pedestrian Crossings
- Crossings describe the path a pedestrian can take to cross a street. These are essential for connecting the pedestrian network across streets.
- Crossings are lines (ways in OpenStreetMap).
- Crossings are drawn only on the surface of streets; they should not be drawn on top of sidewalks.
- Crossings should always start and end with curb nodes.
- Crossings are always tagged with “highway=footway, footway=crossing”. These tags will be added automatically by searching for and selecting the ID preset ‘Pedestrian Crossing’ in the Feature panel.

- To map crossing ways you will select the iD Editor Line marking tool at the top of your mapping dashboard.
- Click once on the edge of the crossing; double click at the terminal end of your crossing, on the opposite edge of the street, to complete the rendering of the line.
Curbs
- Curb nodes (points) should be tagged as “barrier=kerb”. This tag will be added automatically by searching for and selecting the ID preset ‘Curb’ in the Feature panel.
- Curb nodes (points) connecting to a crossing should also be tagged according to their type:
- kerb=raised/lowered/flush/unknown
- These ID presets are searchable in the Feature panel (Raised Curb, Lowered Curb)
- This denotation should be done after observation on location or by considerable analysis of streetside imagery
- If you are unable to determine whether the curb is one of these three tags, please see the section about using the available street side imagery to confirm your selections. If you are still unsure, please tag this point “kerb=unknown” by selecting a type of Curb from the Select Feature Type list and then using the dropdown list within the Curb (kerb) data element to select the “unknown” value.

Sidewalks
- Sidewalks describe paths next to and along streets that are dedicated to pedestrians.
- Sidewalks are drawn down the center of the sidewalk path.
- Sidewalks are documented on a map using the Line marking tool.
- Sidewalk tags can be added by selecting a feature and searching for ID preset ‘Sidewalk’ in the Feature panel
- Sidewalks should not be directly connected to crossings or curbs associated with crossings. Instead, a “link” (described in the next section) should connect them.
- If a crossing is mapped as connected to the sidewalk, without curb information, please split the line at the edge of the street, then add the Lowered Curb/Raised Curb ID presets. The resulting line that connects the curb to the sidewalk can be left as a sidewalk, or it should be tagged as ID preset ‘Foot Path’.
- If you click on the end node of a sidewalk, you can extend the existing line with the ‘A’ key

Links
Links describe connections between pedestrian and non-pedestrian spaces that are not well-described by any identifiable path. In our case, we use links to connect sidewalk centerlines to crossings, as this path is not geometrically delineated in any way, but implied.
- Links should connect sidewalk centerlines to crossings.
- Links should have a curb node at one end (shared with the crossing) and a node without curb tags at the other (shared with the sidewalk).
- Links should be tagged as plain footways (highway=footway) for now. They can be tagged using the ID preset ‘Foot Path’.

Using Street View Imagery
We advise that you base your mapping choices on Bing Aerial satellite background images. You can also use Mapillary and Karta View to access street-side images to help inform your mapping decisions.
- Use street view options to determine how sidewalks pass under foliage, and if curb nodes are lowered or not.
- Mapillary and Bing Streetside can be turned on in the main panel’s toolbar, under the ‘map’ icon, then under ‘photo overlays’
Example Workflows
The above image shows a 3D view of an intersection marked with the appropriate pedestrian elements. Black lines indicate crossings, red links, and blue sidewalks.
Example 1
The image below is a raw, unvalidated prediction on a corner curb. Note that the curb points do not align with the infrastructure and are instead in the street. The curbs are also labeled as raised when street view indicates otherwise. The sidewalks do not go down the center of the actual sidewalks, and the crossings do not align with crossing markings.
This is the same area, but corrected. The sidewalks are aligned, the curbs are on the curbs, and are denoted as lowered curbs. The crossings are correctly placed, and links join the center lines of the sidewalks with the curbs.

Example 2
Here is another example of an incorrect prediction. See that the horizontal crossings are not actual places to cross. There are also extra dangling feature points. Remember to just modify existing features, not add new ones.
Now the features have been edited. The incorrectly marked crossings are gone and the nodes on the right hand sidewalk have been moved to fit the infrastructure. Extra points have been deleted.
Example 3
In the example below, the initial markup excluded 2 links in the upper right, and the curbs are of generic type.

These two aspects have been corrected below.
Example 4
Here is an example where predictions were missing and have been added by mappers themselves.

These two aspects have been corrected below.

Example 5
Note that the AI had predicted a crossing where there is not one

See the corrected version below.
Finishing Tasks
How to save edits to dataset
Save edits by clicking the save button in the top right corner of the Map panel. The Feature panel will ask you to confirm your changes and allow you to leave a changeset note. Click the bottom blue save button when you have reviewed the information in the Feature panel.

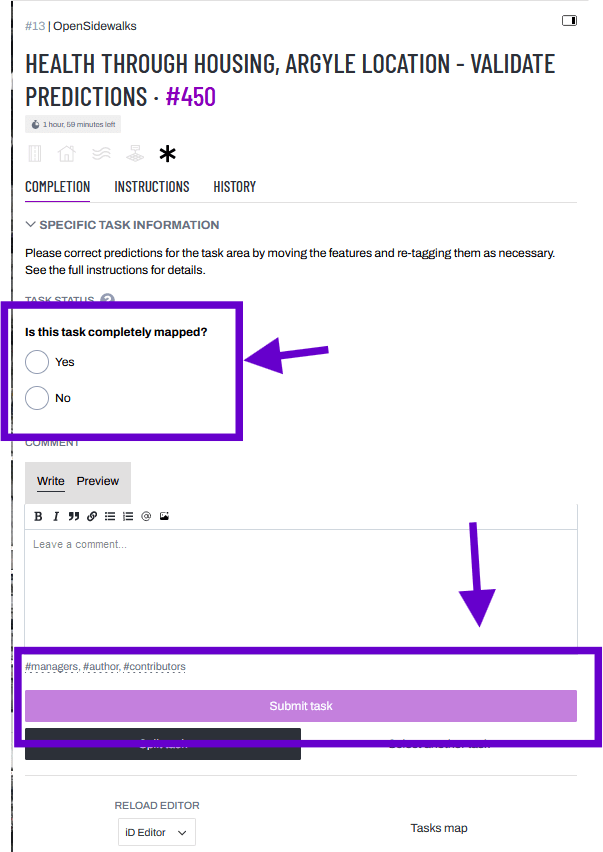
How to submit a task
Even if you didn’t get to finish reviewing the entire task polygon, you can close the task. Either select that the task is complete or still unfinished. If you have any comments to future mappers attempting this task, leave them in the comment text field.
- If there are no predictions present in the task you have selected, make sure to mark the task as not completed, and add a #missing hashtag to the comment box.
- If you are having difficulty with a task, make sure to add a #vet hashtag to the comment box
- The “Submit task” button at the bottom of the Task Management panel on the right side of the tasking manager will be enabled once you select an option above. Click “Submit task.”
You can click on ‘Select Another Task’ to go back to the project tasks view of the Tasking Manager, but if you do so before “Submit task” then your interaction with the task will not be recorded.